

")
You already know how and what lights we use. You also know what devices we have included in the long-term Review. In this article, part 3 of Xiaomi Smarthome, we’ll introduce you to devices that take care of (partial) security of our household, but they are also important for building automation. So let's look at how it all works.
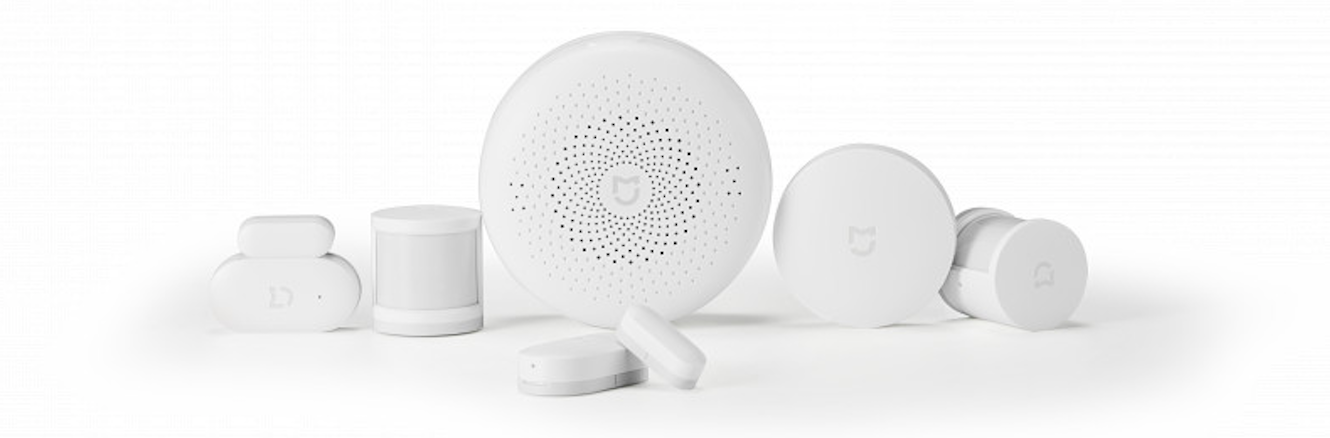
From the safety point of view, we reached for a very simple but functionally interesting assembly – Mi Smart Sensor Set, which includes – a control unit, two motion sensors, two door / window sensors and one wireless controller. Also in this section, we must point out that Xiaomi knows how to impress – at least in terms of design, which is very successful. Every single device from this set is distinguished by minimal, high quality materials and last but not least by precise processing.
We start by adding devices to the system – Mi health home
This part of us (abbot) surprised by its simplicity! Control unit (RJ), including sensors, is added to the system as follows. The basis is installation: connect the RJ to the power supply – up to 230 V mains. All sensors have integrated batteries, so they need to be revived by inserting a needle (found in the package) into the hole on each sensor by pressing the pairing button. Then turn on the app and click the "+" button on the start screen to add a new device. Here you can manually search for devices in the list view, but we haven't used that yet. The app will automatically scan available nearby devices and immediately offer you the option to add them to your system.
"To get the most out of the Xiaomi Smarthome system, you'll need the free Mi-health home application to create a simple sign-up."
Then, tag them, assign them to your health home Wi-Fi network (you only need to enter the password on the first device, then the system will not ask you again), name it, assign it to a room (you can create as needed) and you are using. Each device has its own internal settings in the app. This process, as well as the control of individual devices and their automation is very simple, which makes us happy. It is a system for all users who are interested in a smart health home without complicated settings and expensive devices. It should be noted, however, that the range of devices and functionality of advanced Smarthome solutions is at a different level. This is a simple system for ordinary, rather less demanding users.

Installation of sensors, control unit and their use in practice
We start with the control unit, which in this case is complete (necessary) basis. It has an elegant design and we also like the way it is powered, respectively. installation. It has an integrated "plug" and plugs directly into a 230V outlet, with no cables needed. This solution may not suit everyone, but it has its advantages – we like (We have enough cables in the health home). The control unit also has a loudspeaker (for messages and alarms) and an LED bezel that visually indicates that something is happening – you can change the backlight color and intensity in the settings. As a whole, it looks very good. There is also one physical button, for example, you can manually cancel the alarm or turn off the message. The control unit manages all the sensors we will discuss below. Of course there is remote access outside the health home Wi-Fi network and communication, respectively. Active interconnection with other household devices – this is a necessity for automation.
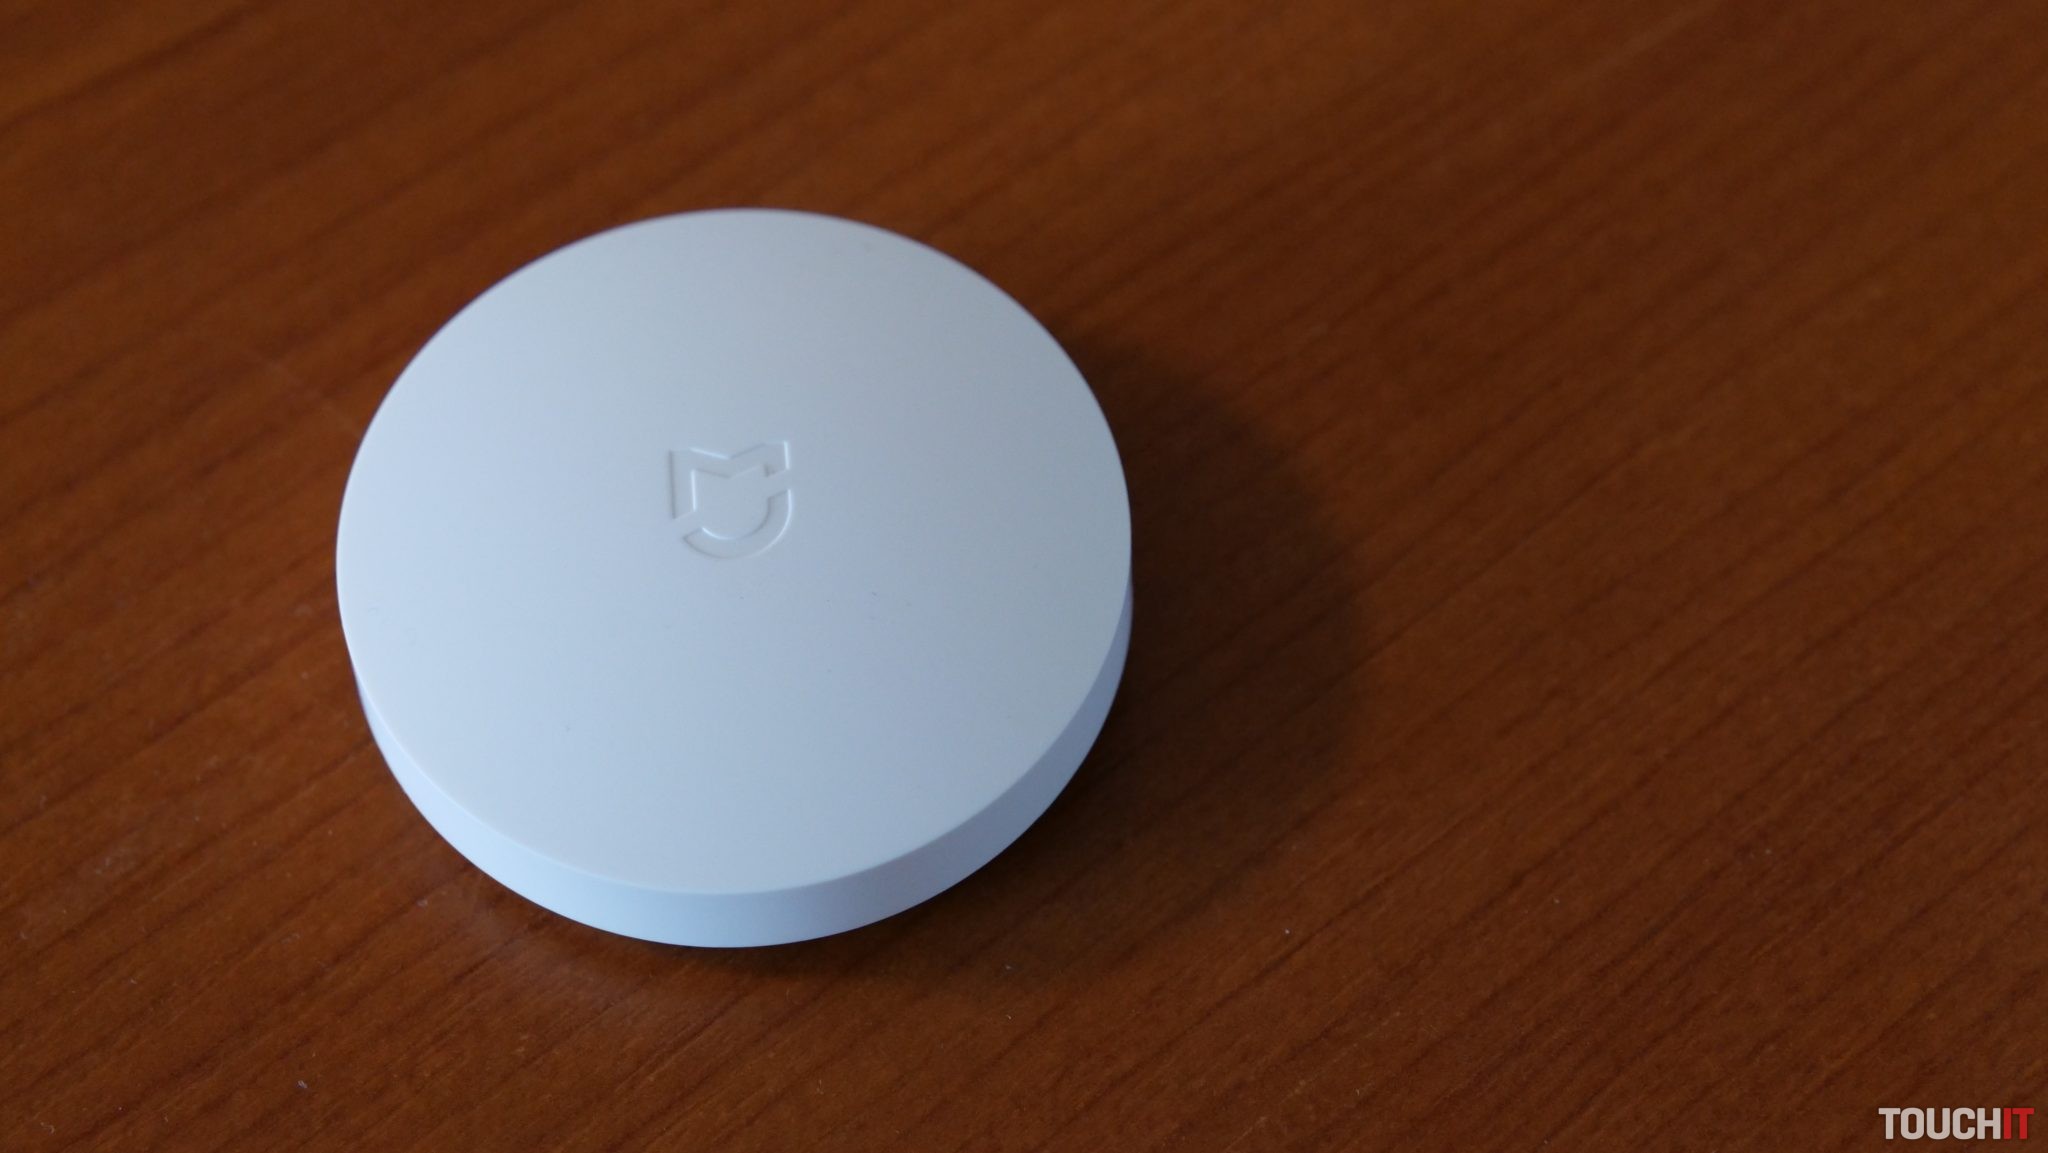
"Xiaomi also wants to ensure that its products are honestly and visibly marked with the" Mi "logo. This logo is visible but not distracting, on the contrary, it reminds us quite of Apple devices that Xiaomi wants to resemble. ”
We continue with sensors,which have a clear role throughout the system and are very easy to install. Since motion and window sensors can be glued, you will also find spare 3M double-sided tapes in the package – if you need to move them over time, etc. We deployed the sensors as follows: we put one door sensor on the front door and the other on the balcony – so that the main entrances are supervised. The sensors are glued, so installation is usually very simple. The door / window sensors consist of two parts – one, the smaller one, is glued to the moving part (door) and the other, larger part, to the frame or window frame – always at the optimum distance. To be in good contact, it should not be more than 1 cm apart.


The second set consists of twoPIR) sensors that are compact in size and can be glued or laid wherever you want. Of course, to make sense. To wake up all these sensors "from a hard sleep", insert a clip from the package into the small hole and push the microswitch to automatically start the pairing process with RJ. This is done very quickly and you can then start customizing their functionality and combine them with other devices.
How are we?
The door sensors use the app to tell us whether someone has opened / closed the door. This is useful as a basis when no one is at health home and you are in an active state outside the house. If someone opens the door, you will know right away, and you can respond quickly to the situation. Ideally, from a security point of view, these sensors would be on all doors and windows in the house / apartment. We also use these sensors as a detector when we are at health home. On one sensor we have set (main entrance) that if the door opens, you will hear a bell message, knowing that someone has entered. We admit it is just for the Review, otherwise it is quite annoying :). It is a great solution, for example, in smaller business operations or in shops, so that you know when the customer entered.

However, what we often use is a message that announces a longer open door. If you forget to close the door, resp. you don't close them well, so after some (set) over time, RJ will tell you this with a sound and you will receive a notification. If you have children, believe this is a cool thing. The last setting we use is more complex and is called automation. If the alarm is not triggered and the front door is opened, the light in the hallway or in the kitchen can be switched on.Simple set up conditions – "If this happens, do this."If the alarm is "out of health home", the loud siren will sound, the lights will flash and the phone will be notified to let you know about the condition. Everything depends on the settings, respectively. from the individual needs of the user.
All motion sensors have the same functionality and thus behave according to user settings. If they capture movement (status change), so they perform a configured request – they trigger an alarm, turn on the light, and so on. The basis is their good deployment – they have a really wide range and work well, which pleased us. Using automation can also look like this: You can have one sensor in the hallway below the shelf to catch only the legs and set it so that when it detects movement from 23:00 to 6:00, it turns on a small "navigation" light in the hallway to you knew where you were stepping. Handy, what do you say?There are a number of such options and combinations, depending on which devices you have and how you set them up. into automation.
“The essence of all the devices involved in an intelligent health home is automation — bringing the devices together to communicate and work according to your expectations. We will talk about automation and its possibilities in another part. We'll also tell you what scenes we use real and daily to get an idea of how this system works in practice. ”
Finally, we have a “puck”, a small wireless controller that lets you launch different scenes or activate specific devices – as set in the app. This can be, for example, triggering the “out of health home” state or quickly activating specific lights, etc. It's just about the imagination and needs of the user or household. You can place or paste this controller anywhere, with an integrated 3M tape.
What device do we control our smart health home?
We still have the same vision – we'll use different devices, including iOS devices, but the main thing – Xiaomi Redmi 6. It is a relatively new mid-range model with a 6.26 ”HD + display with DOT drop cutout (tear), up to 86.43% of the front is the display itself. Miss a decent camera – 12 MP main sensor + 2 MP secondary sensor. However, we are most interested in the performance and stability of the system, as this phone will serve as the control unit and controller of the entire intelligent health home.

The smooth running is to take care of Qualcomm Snapdragon 632 processor, which is seconded to 3 GB of RAM. The internal memory has a capacity of 32 GB and is expandable with a microSD memory card up to a maximum capacity of 512 GB. There is also a biometric security device, which is in charge of the fingerprint sensor in the back and present is a basic face unlocking, which is controlled by the AI algorithm. Redmi 7 also has P2i certification (splash water resistance). We will also need a long battery life per charge, which should be ensured by an integrated battery with a capacity of 4000 mAh.
All of the above devices as well as many more products can be found at: www.mi-store.sk
Read also:
Xiaomi Smarthome: What lights and how do we use them at health home? (Part 2)


